This a simple tutorial on how to use your digital certificate to sign a document in Microsoft Word.
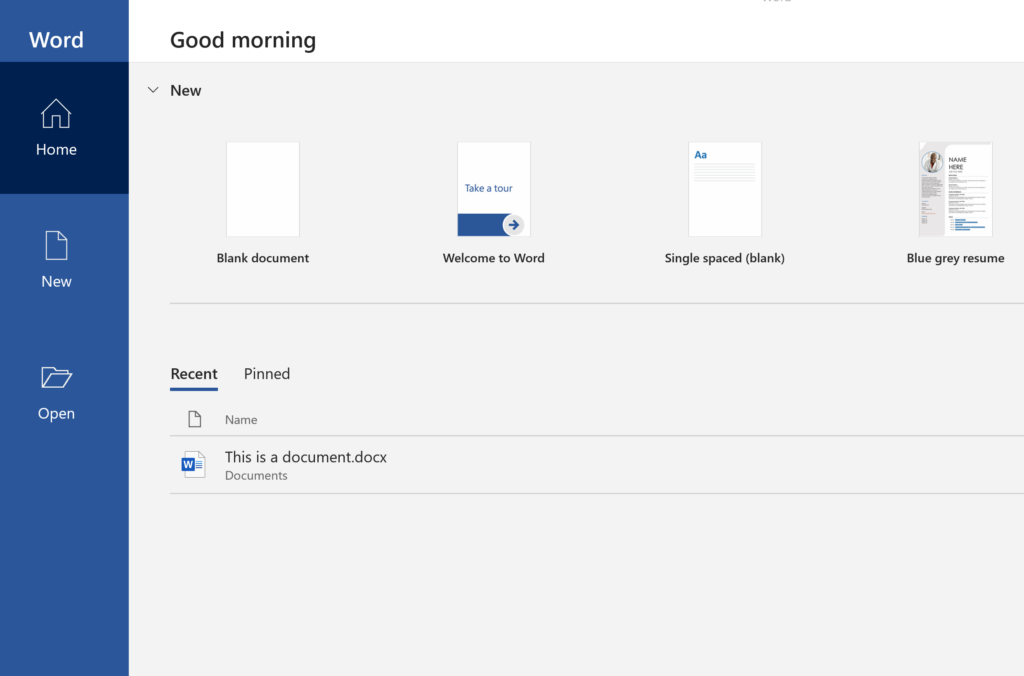
Open your Word application as usual and type your document. When you are done typing and you want to digitally sign the document do the following.
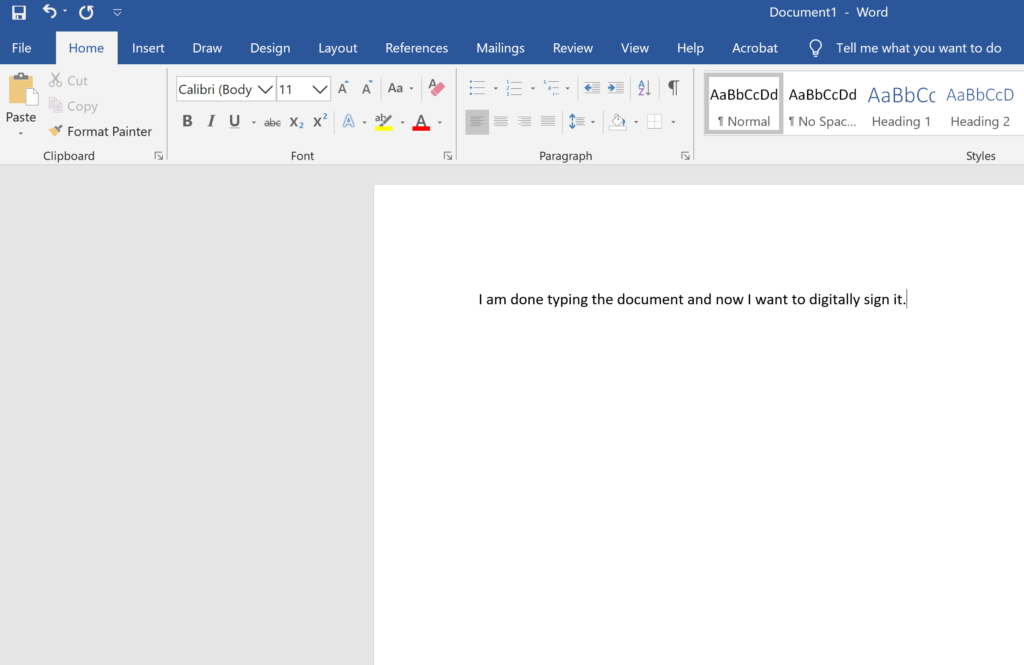
Select File then Info
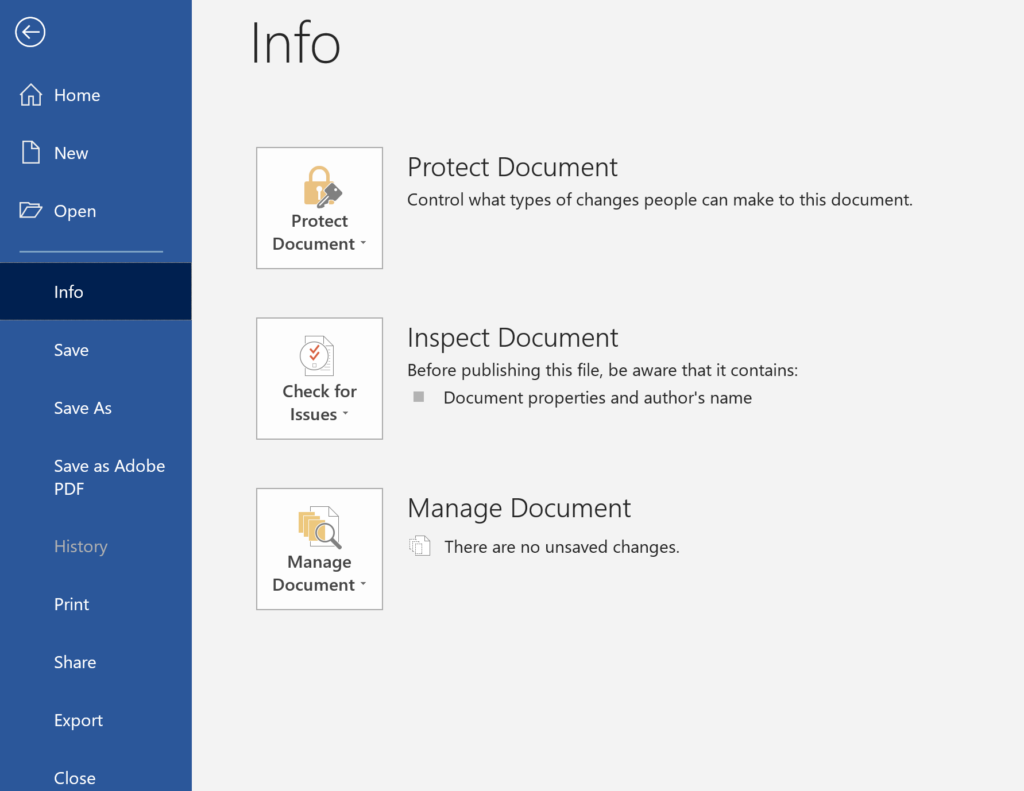
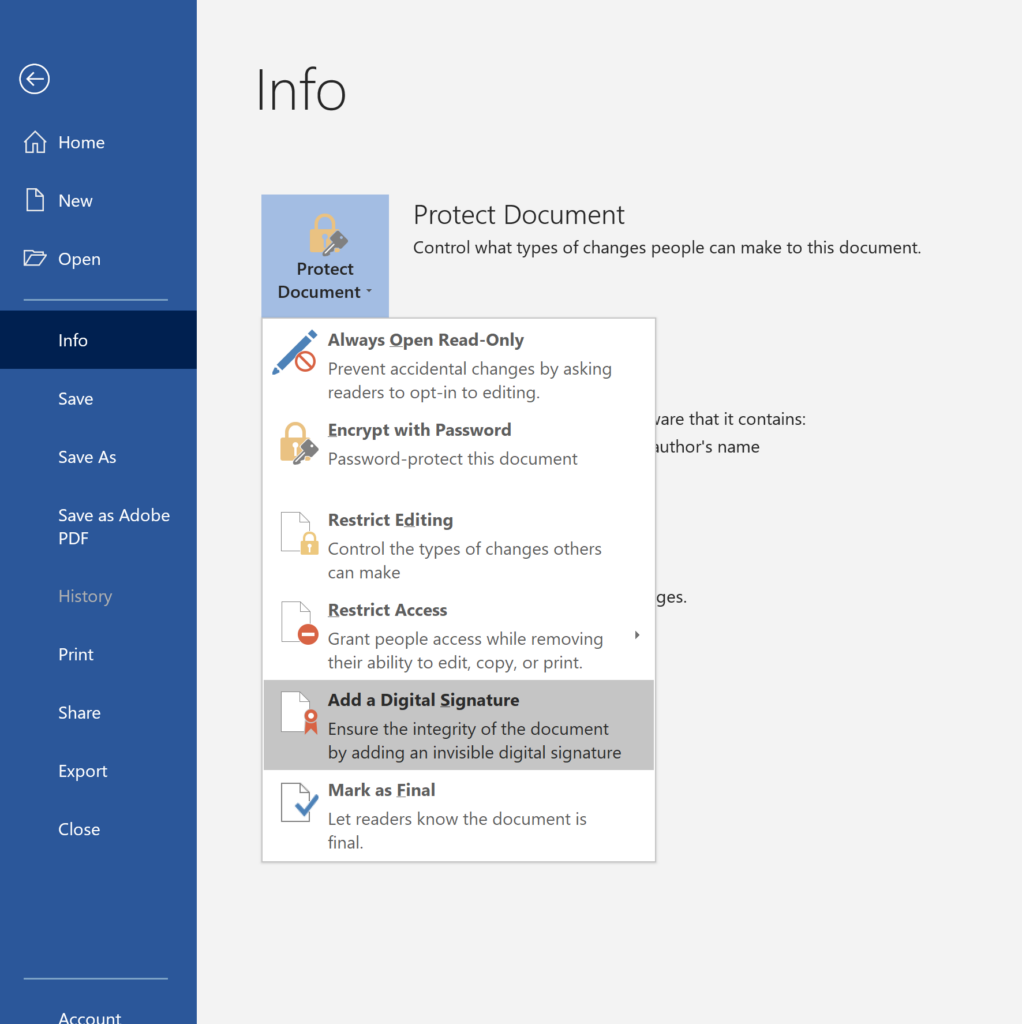
Select Protect document and then “Add a Digital Signature”. If the file had not been saved it will prompt you to do so in a format that supports signatures.
This will then require you to state the commitment type. You can choose “Created and Approved”. It will also show you the installed certificates on that computer. See my previous article on how to install a certificate on your computer.
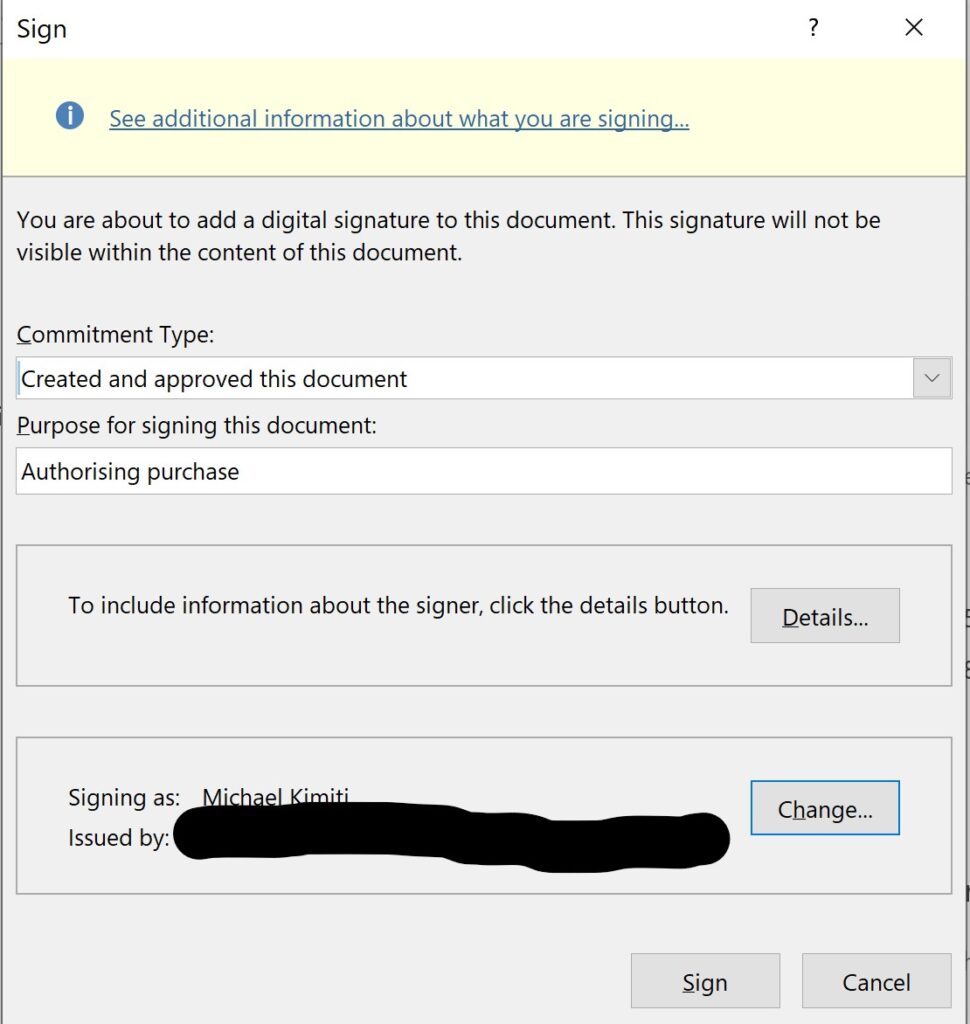
When you select “Sign” this will appear
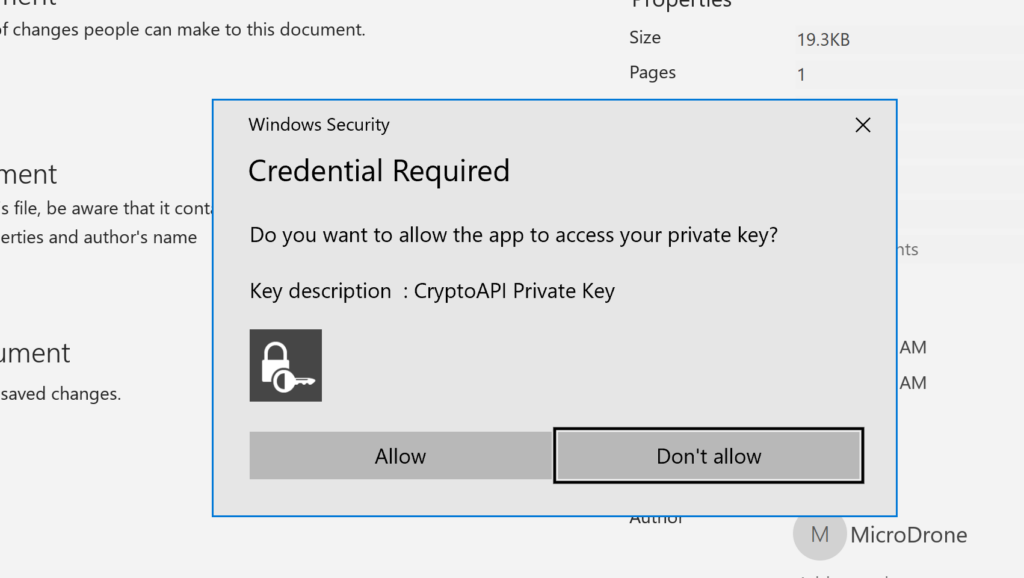
Allow the app to access your key and the document will be signed.
The document is now signed and this is how it looks when opened.
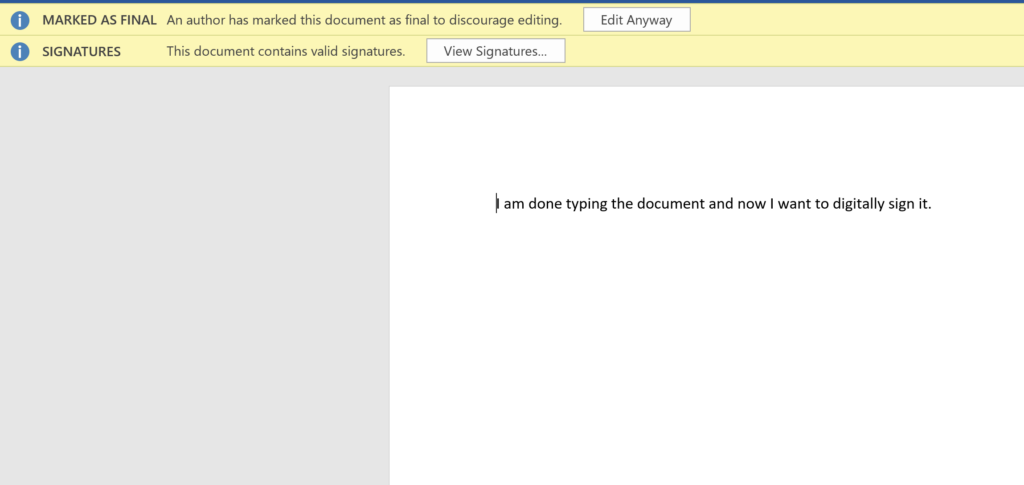
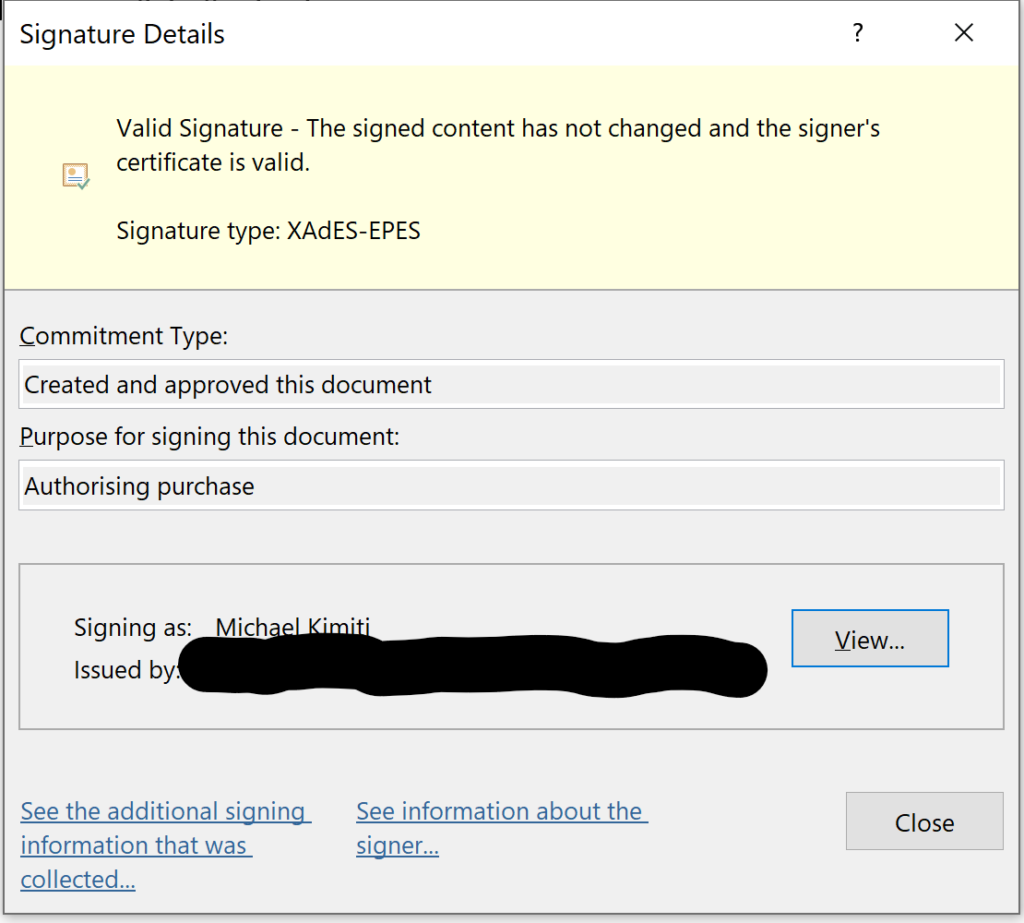
If you click on “View Signatures” You see the identity of the signer

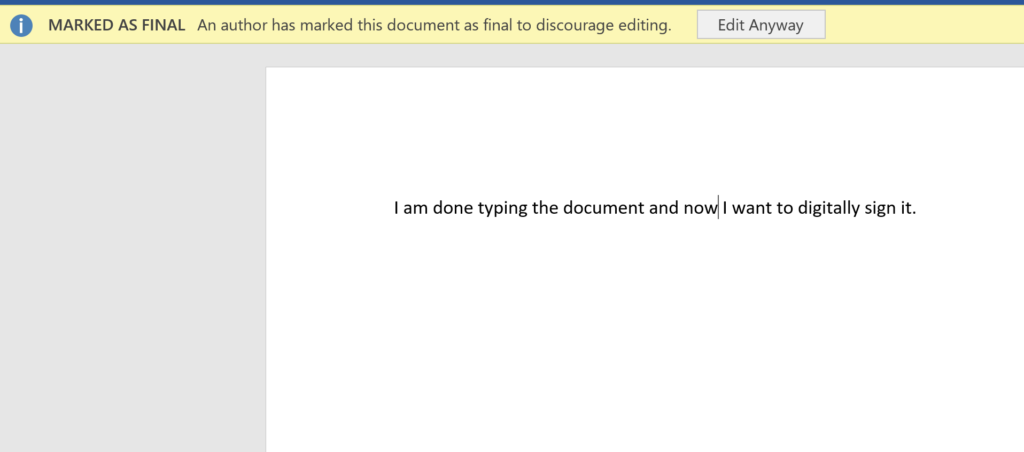
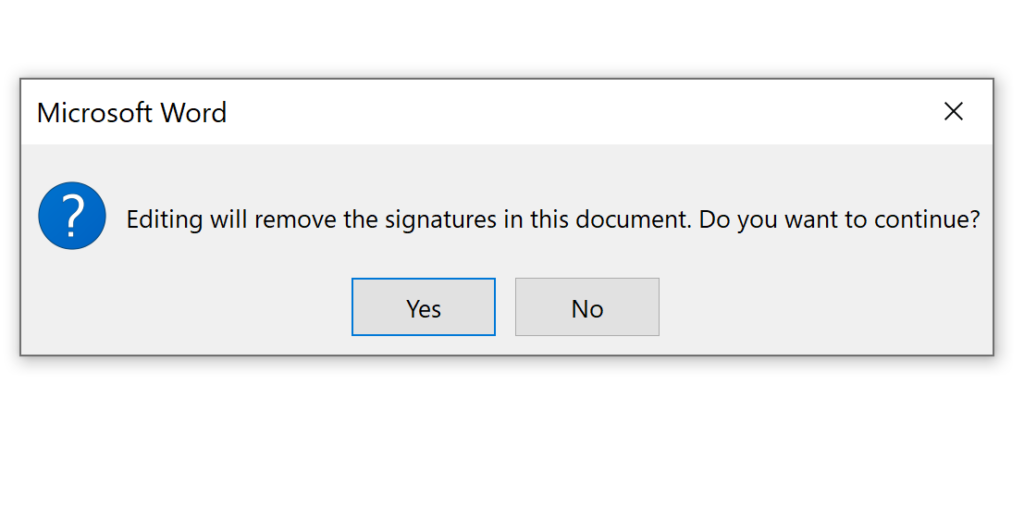
Note that a document that has been signed digitally can’t be edited. If you enable editing, The signature will be removed.
Using certificates to digitally sign documents fully complies with the requirements as prescribed in the KICA Act as well as the Business Act in Kenyan Law.
Contact Us for enquiries for digital certificates for document signing
